Kenmore Dryer Model 110 Repair Manual PDF: A Comprehensive Guide
Finding a Kenmore dryer model 110 repair manual PDF online is now easier, with many resources available for DIY repairs and troubleshooting assistance.
Understanding Your Kenmore Dryer Model 110
The Kenmore 110 dryer, a popular appliance, requires understanding its basic operation for effective repair. These dryers, manufactured by various companies like Whirlpool for Sears, share common components. Familiarizing yourself with these parts – heating elements, thermostats, thermal fuses, drive belts, and motors – is crucial. A repair manual PDF provides detailed diagrams and explanations.
Identifying the specific model number (e.g., 110.22352512) is paramount, as variations exist. Knowing your exact model ensures you access the correct repair information. Online resources and Sears PartsDirect are valuable for locating manuals. Remember, safety is key; disconnect power before any repair attempt. A comprehensive guide simplifies the process, enabling successful DIY fixes and extending your dryer’s lifespan.
Locating the Correct Repair Manual PDF
Finding the precise Kenmore dryer model 110 repair manual PDF often starts with a simple Google search, using the full model number (e.g., “Kenmore 110.22352512 manual pdf”). Sears PartsDirect is a primary resource, offering manuals and parts diagrams directly linked to your appliance. Amazon also hosts DIY repair manuals covering Kenmore dryers, providing step-by-step instructions.
If you struggle to locate it, posting a photo of your dryer online, within relevant forums or subreddits, can help others identify the model. Many manuals are now digitized and readily available. Ensure the PDF matches your specific model number for accurate repair guidance, avoiding incorrect procedures and potential damage.
Identifying Your Specific Model Number (110.xxxxxxxxx)
Locating your Kenmore dryer’s complete model number – typically in the format 110.xxxxxxxxx – is crucial for finding the correct repair manual PDF. This number isn’t simply “110”; the additional digits specify the exact configuration. You’ll usually find it on a sticker or plate located inside the dryer door, on the back panel, or sometimes behind the lint trap.
Without the full model number, you risk downloading an incorrect manual, leading to inaccurate repair instructions. If the sticker is damaged or missing, a photograph of the appliance posted online can often help others identify it. Accurate identification ensures you have the right parts diagrams and troubleshooting steps.
Common Kenmore Dryer Model 110 Issues
Kenmore Dryer Model 110 frequently experiences issues like heating problems, often stemming from a faulty heating element or thermal fuse. Another common complaint is a drum that won’t turn, usually caused by a broken drive belt or a malfunctioning motor. Noisy operation can indicate worn drum rollers or loose components requiring tightening.
Error codes displayed on the control panel provide valuable clues for diagnosis, and a repair manual PDF will detail their meanings and corresponding troubleshooting steps. Addressing these issues promptly, using a comprehensive guide, can prevent further damage and extend the dryer’s lifespan, saving on costly repairs or replacements.
Heating Problems
Heating issues in the Kenmore Model 110 dryer often point to a few key components. A frequently cited culprit is a burned-out heating element, easily diagnosed with a multimeter for continuity. The thermal fuse, a safety device, frequently trips to prevent overheating and requires replacement if blown. A malfunctioning thermostat can also prevent the dryer from reaching the correct temperature.
A repair manual PDF provides detailed diagrams for locating these parts and step-by-step instructions for testing and replacement. Always disconnect power before attempting any repairs, and consult the manual for specific safety precautions related to gas or electric models.
Drum Won’t Turn
If your Kenmore Model 110 dryer drum isn’t rotating, several issues could be at play. The most common is a broken drive belt, easily inspected by accessing the internal components as detailed in the repair manual PDF. A worn or seized motor is another possibility, requiring testing with a multimeter. Furthermore, damaged drum rollers can create excessive friction, preventing smooth rotation.
The manual’s exploded diagrams are invaluable for identifying the correct replacement parts. Remember to disconnect the power supply before any inspection or repair work. The PDF guide will illustrate the proper belt routing and component locations for a successful fix.
Noisy Operation
Excessive noise during operation of your Kenmore Model 110 dryer often indicates loose components or worn parts. The repair manual PDF highlights potential sources, including worn drum rollers, a failing motor bearing, or even objects lodged within the blower housing. Identifying the noise’s origin is crucial for effective repair.
The manual provides detailed instructions for tightening loose panels and lubricating moving parts. Inspect the drum rollers for wear and replace them if necessary, referencing the exploded parts diagrams for correct sizing. Always disconnect power before accessing internal components. A systematic approach, guided by the PDF, will restore quiet operation.
Error Codes and Troubleshooting
Kenmore Dryer Model 110 error codes signal specific malfunctions, and the repair manual PDF is essential for decoding them. These codes, displayed on the control panel, pinpoint issues ranging from heating element failures to sensor problems. The manual provides a comprehensive list, detailing each code’s meaning and suggested troubleshooting steps.
Common errors include issues with the thermal fuse, thermostat, or gas valve (for gas dryers). The PDF guides you through testing these components with a multimeter, referencing wiring diagrams for accurate readings. Remember safety first – disconnect power before any electrical testing. Following the manual’s diagnostic flowcharts ensures efficient and accurate repairs.
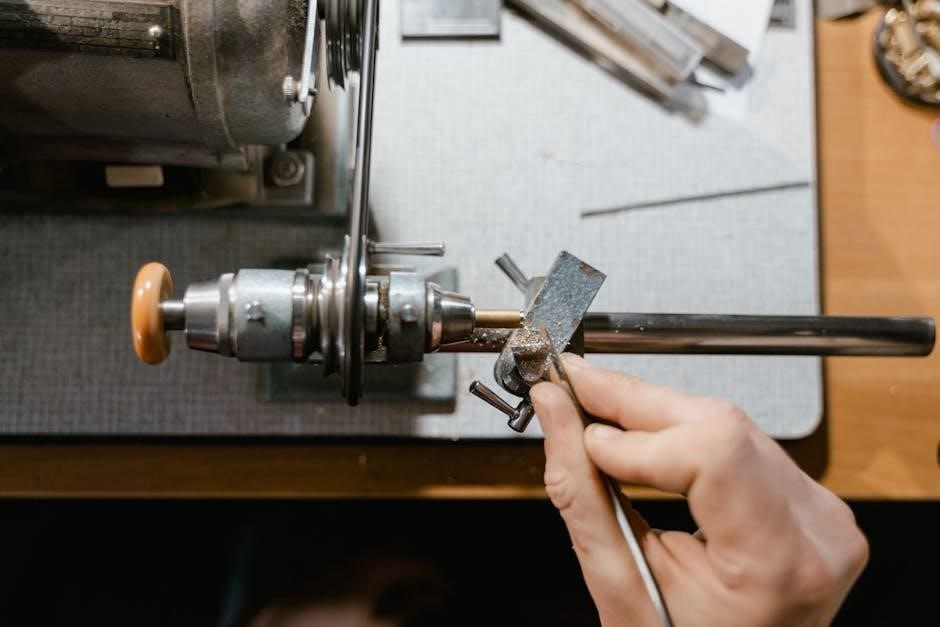
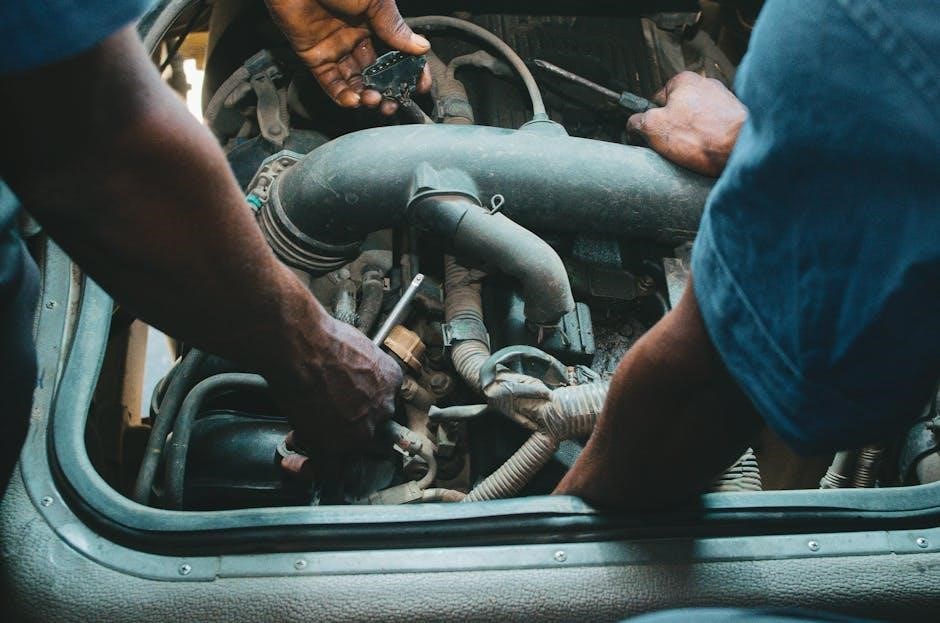
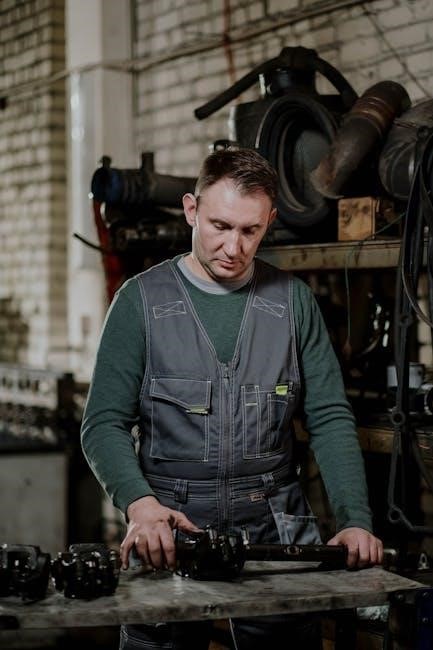
Essential Tools for Kenmore Dryer Repair
Successfully tackling Kenmore Dryer Model 110 repairs requires a specific toolkit. A multimeter is crucial for testing electrical components like heating elements, thermal fuses, and thermostats, as detailed in the repair manual PDF. Screwdrivers (Phillips and flathead) are essential for accessing internal parts, while pliers aid in disconnecting wiring harnesses.
Additionally, a nut driver set is helpful for removing panels and securing components. A socket wrench set provides leverage for stubborn fasteners. Safety glasses and work gloves are non-negotiable for protection. The repair manual PDF often references specific tools needed for each repair, ensuring you’re prepared before starting.
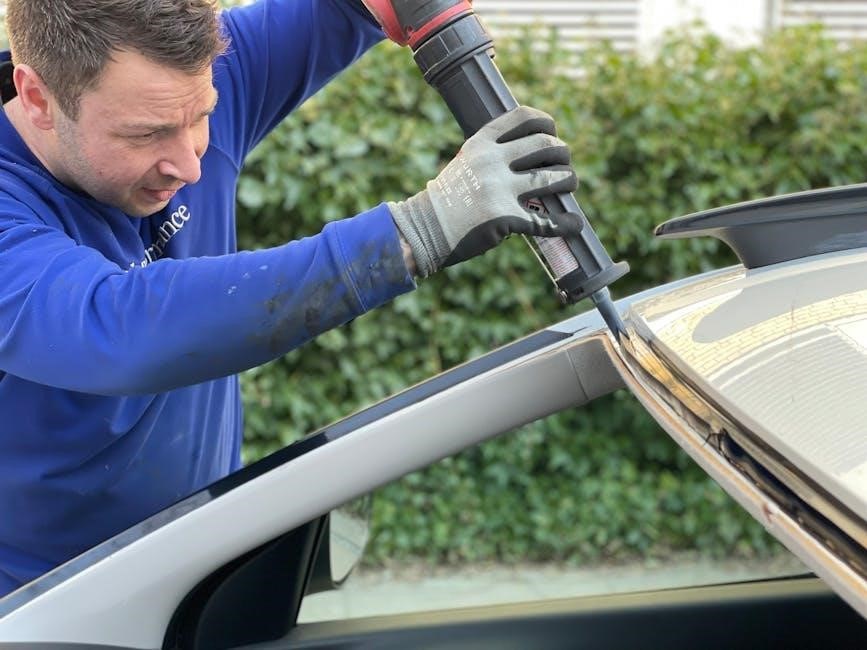
Safety Precautions Before Starting Repairs
Prior to any Kenmore Dryer Model 110 repair, safety is paramount. Always disconnect the dryer from the power source – unplug it or shut off the circuit breaker – to prevent electrical shock, as emphasized in the repair manual PDF. Gas dryers require shutting off the gas supply valve. Wear appropriate safety gear, including gloves and eye protection, to shield against sharp edges and debris.
Be mindful of potential gas leaks if working on a gas dryer; proper ventilation is crucial. The repair manual PDF will highlight specific safety warnings for each procedure. Never attempt repairs you’re uncomfortable with; consult a qualified technician if needed.

Accessing Internal Components
The Kenmore Dryer Model 110 repair manual PDF details accessing internal parts. Typically, removing the top panel involves releasing clips or screws located at the rear of the dryer, as illustrated in the diagrams. The front panel usually requires removing screws hidden beneath the control panel or around the door opening.
To reach the control panel, you may need to disconnect wiring harnesses after removing the front panel; Carefully label all connections before disconnecting to ensure proper reassembly. The manual PDF provides step-by-step instructions and visual aids for each disassembly process, emphasizing caution to avoid damaging components.
Removing the Top Panel
The Kenmore Dryer Model 110 repair manual PDF illustrates removing the top panel as the initial step for many repairs. Generally, this involves locating and removing screws at the back of the dryer cabinet. Some models may have additional screws hidden under felt pads or within the lint trap housing – the manual’s diagrams pinpoint these locations.
Once the screws are removed, gently slide the top panel backward, releasing it from retaining clips. Exercise caution to avoid damaging the panel or any wiring connected to it. The manual emphasizes disconnecting any wires before fully removing the top panel for safe access to internal components.
Removing the Front Panel
The Kenmore Dryer Model 110 repair manual PDF details front panel removal, crucial for accessing components like the control panel and heating element. Typically, this begins with disconnecting the dryer from power. Next, locate and remove the screws securing the front panel, often found along the top edge and sometimes hidden behind access panels.
Gently pull the front panel forward and upward, releasing it from retaining clips or brackets. Be mindful of the door spring mechanism, which may require careful maneuvering. The manual stresses disconnecting any wiring harnesses connected to the control panel before completely detaching the front panel, ensuring safe and efficient repair access.
Accessing the Control Panel
The Kenmore Dryer Model 110 repair manual PDF illustrates accessing the control panel after front panel removal. First, disconnect the wiring harness connecting the control panel to the dryer’s internal systems – carefully noting the connector positions for reassembly. Then, locate and remove the screws securing the control panel to the dryer’s chassis, usually found on the inner side of the front panel area.
Gently tilt the control panel forward to reveal the underlying components. The manual emphasizes caution when handling the control board, avoiding static discharge. Proper access allows for inspection and replacement of switches, timers, or the entire control board itself, facilitating effective dryer repairs.
Repairing Heating Element Issues
The Kenmore Dryer Model 110 repair manual PDF details heating element repair, starting with safety – disconnecting power is crucial. Access the heating element housing, typically at the rear of the dryer, after removing the rear panel. Visually inspect the element for breaks or damage; a multimeter confirms continuity. If faulty, disconnect the wires and remove the old element.
Install the new heating element, ensuring secure connections. The manual stresses using the correct replacement part. Reassemble the dryer and test functionality. Troubleshooting also includes checking the thermal fuse and thermostat, often linked to heating failures, as outlined in the PDF guide.
Troubleshooting and Replacing the Thermal Fuse
The Kenmore Dryer Model 110 repair manual PDF highlights the thermal fuse as a frequent cause of no-heat issues. Locate it, usually near the exhaust vent, after safely disconnecting power. Use a multimeter to test for continuity; a lack of continuity indicates a blown fuse. Replacing it is straightforward – disconnect the wires and remove the old fuse from its bracket.
Install the new fuse, ensuring correct orientation. The manual emphasizes using an identical replacement. However, a blown fuse often signals another problem, like restricted airflow. Address any lint buildup or vent obstructions to prevent recurrence. Reassemble and test; the PDF provides diagrams for reference.
Diagnosing and Replacing the Thermostat
The Kenmore Dryer Model 110 repair manual PDF details thermostat diagnosis, crucial for proper temperature regulation. Access it after disconnecting power, typically located near the heating element. Utilize a multimeter to check resistance; values outside the specified range indicate failure. Refer to the manual’s specifications for correct readings.
Replacement involves disconnecting wires and removing the old thermostat. Ensure the new thermostat matches the original’s specifications. Securely connect the wires, referencing the manual’s wiring diagram. A faulty thermostat can cause overheating or insufficient drying. Testing after replacement confirms proper function, preventing potential fire hazards.
Fixing Drum Rotation Problems
The Kenmore Dryer Model 110 repair manual PDF provides detailed steps for resolving drum rotation issues. Begin by checking the drive belt for wear or breakage – a common culprit. Inspect the motor for obstructions or burned-out windings, referencing the manual’s diagrams. Worn drum rollers also hinder rotation; the manual guides their replacement.
Accessing these components requires panel removal, as outlined in the manual. Ensure the dryer is unplugged before disassembly. A seized motor or broken belt prevents drum movement. Replacing rollers involves supporting the drum while removing and installing the new parts. Consult the manual for specific torque specifications during reassembly.
Checking the Drive Belt
The Kenmore Dryer Model 110 repair manual PDF emphasizes the drive belt as a primary component to inspect when the drum won’t rotate. Access requires removing the front panel, detailed in the manual’s disassembly section. Visually examine the belt for cracks, fraying, or complete breakage. A snapped belt immediately stops drum movement.
Even without visible damage, a stretched belt can slip, causing intermittent or slow rotation. The manual provides belt routing diagrams to ensure correct reinstallation. Check the belt’s tension; it should have some give but not be excessively loose. Replacing the belt is a straightforward repair, but the manual stresses proper alignment with the motor pulley and drum.
Inspecting the Motor
The Kenmore Dryer Model 110 repair manual PDF details motor inspection procedures if drum rotation issues persist after checking the drive belt. Accessing the motor typically involves removing the blower housing and potentially the drum itself, guided by the manual’s diagrams. First, disconnect power before any motor examination.
Visually inspect the motor for signs of overheating, such as burnt wiring or a discolored housing. The manual advises checking the motor windings for continuity using a multimeter – a crucial step for diagnosing electrical faults. A failed winding indicates motor replacement is necessary. Also, verify the motor’s capacitor isn’t bulging or leaking, as this can prevent starting.
Replacing Drum Rollers
The Kenmore Dryer Model 110 repair manual PDF provides detailed steps for replacing worn drum rollers, a common cause of rumbling noises during operation. Access requires removing the front panel and often the drum itself, following the manual’s exploded diagrams. Before starting, disconnect the dryer from power.
The manual illustrates how to release the spring tension holding the rollers in place, often requiring a specialized tool or careful leverage. Inspect the roller axles for wear or damage; replace them if necessary. Ensure the new rollers are correctly seated and securely fastened, as improper installation can lead to premature failure and noise. Reassembly should follow the disassembly process in reverse.
Addressing Noisy Operation
The Kenmore Dryer Model 110 repair manual PDF dedicates a section to diagnosing and resolving noisy operation, a frequent complaint. It emphasizes identifying the source of the noise – whether it’s rumbling, squealing, or clicking – as the first step. Common culprits include worn drum rollers, a failing drive belt, or a loose blower wheel.
The manual guides users through inspecting and tightening loose components, like the blower housing and motor mounting brackets. Lubricating moving parts, such as the motor bearings and idler pulley, is also recommended. Detailed diagrams pinpoint the location of these components for easy access and maintenance. Remember to disconnect power before any internal inspection or repair work.
Identifying the Source of the Noise
The Kenmore Dryer Model 110 repair manual PDF stresses methodical noise source identification. It advises listening carefully during different dryer cycles – start-up, tumbling, and cool-down – to pinpoint when the noise occurs. Rumbling often indicates worn drum rollers or a failing support. Squealing suggests a worn drive belt or idler pulley. Clicking sounds could stem from objects lodged in the blower wheel or lint duct.
The manual provides diagrams illustrating component locations, aiding visual inspection. It recommends checking for loose parts, worn bearings, and obstructions. Carefully rotating the drum by hand can help isolate the noise’s origin. Always disconnect power before attempting any internal examination.
Tightening Loose Components
The Kenmore Dryer Model 110 repair manual PDF highlights that many noises originate from loose components. It instructs users to systematically check all accessible screws, bolts, and panels, ensuring they are securely fastened. Pay particular attention to the blower housing, motor mounting brackets, and drum support components. A rattling sound often indicates a loose panel or bracket.
The manual emphasizes using the correct tools to avoid stripping screw heads. It advises against over-tightening, which can damage plastic parts. Inspect the condition of the fasteners themselves; replace any that are corroded or damaged. Remember to disconnect power before any disassembly or tightening procedures, prioritizing safety.
Lubricating Moving Parts
The Kenmore Dryer Model 110 repair manual PDF details lubrication as crucial for smooth operation and noise reduction. It specifically recommends lubricating the drum rollers, idler pulley, and motor bearings. Use a high-temperature lubricant designed for dryer applications; standard lubricants can melt and cause issues. Apply sparingly, avoiding over-lubrication which can attract lint.
The manual cautions against lubricating the heating element or any electrical components. Access these parts requires disassembly, and the PDF provides diagrams for guidance. Regular lubrication, as outlined in the manual, extends the life of these components and prevents premature wear. Always disconnect power before performing any lubrication tasks for safety.
Understanding Dryer Error Codes
The Kenmore Dryer Model 110 repair manual PDF dedicates a section to deciphering error codes displayed on the control panel. These codes are diagnostic tools, indicating specific malfunctions within the dryer system. Common codes relate to heating issues, thermal fuse failures, or problems with the motor and sensors. The manual provides a comprehensive list, detailing the meaning of each code and potential solutions.
Troubleshooting based on error codes streamlines the repair process, pinpointing the faulty component. The PDF often includes flowcharts to guide users through the diagnostic steps. Remember to consult the manual before replacing parts, as some codes may indicate multiple potential causes. Proper interpretation of these codes saves time and ensures accurate repairs.
Finding Exploded Parts Diagrams
A crucial component of the Kenmore Dryer Model 110 repair manual PDF is the inclusion of detailed exploded parts diagrams. These diagrams visually represent the dryer’s internal structure, showcasing each component’s location and relationship to others. They are invaluable when identifying and ordering replacement parts, ensuring compatibility and a successful repair.
The diagrams typically label each part with a corresponding number, cross-referenced with a parts list within the manual. This allows for precise identification, even for those unfamiliar with dryer mechanics; Accessing these diagrams simplifies disassembly and reassembly, minimizing errors during the repair process. Online resources, like Sears PartsDirect, also offer similar diagrams alongside the PDF manual;
Where to Download Kenmore Dryer Model 110 Manuals Online
Numerous online platforms offer Kenmore Dryer Model 110 repair manual PDFs for download. A primary source is the Sears website, often hosting manuals for appliances they’ve serviced. Additionally, websites specializing in appliance repair manuals, like ManualsLib and AppliancePartsPros, frequently archive these documents. Google searches using specific model numbers (e.g., “Kenmore 110.22352512 manual PDF”) yield direct links to downloadable files.
It’s important to verify the source’s legitimacy to avoid malware or inaccurate information. Sears PartsDirect is a reliable option, offering both manuals and parts. Remember to check for the correct model number within the manual to ensure it matches your specific dryer configuration, guaranteeing accurate repair guidance.
Utilizing Sears PartsDirect for Manuals and Parts
Sears PartsDirect stands as a highly recommended resource for Kenmore Dryer Model 110 owners seeking both repair manuals and replacement parts. The website provides a dedicated platform to input your specific model number, ensuring compatibility and accurate results. You can often find downloadable PDF manuals directly associated with your dryer’s model.
Beyond manuals, Sears PartsDirect offers an extensive inventory of genuine Kenmore parts, including belts, heating elements, and thermostats. Their exploded parts diagrams are invaluable for identifying the correct component needed for your repair. The site also frequently includes helpful troubleshooting guides and videos, simplifying the repair process for DIY enthusiasts.
DIY Repair Manuals for Kenmore Dryers (Gas/Electric)
For comprehensive DIY repair guidance, consider the “Do It Yourself Repair Manual for Kenmore Dryers (Gas/Electric)” available on Amazon.com. This manual provides easy-to-follow, step-by-step instructions and detailed illustrations, catering to both gas and electric Kenmore dryer models, potentially including the Model 110. It empowers homeowners to tackle common repairs without professional assistance.
These manuals typically cover essential maintenance, troubleshooting common issues like heating problems or drum malfunctions, and component replacement procedures. They often include safety precautions and diagrams to aid in accurate repairs. While specific model coverage varies, these resources offer a valuable starting point for understanding your dryer’s mechanics and performing effective self-repairs.
Kenmore Washer Model 110.92273100 Parts Diagrams Relevance
Although focused on a washer (Model 110.92273100), its exploded parts diagrams can offer indirect assistance when seeking information related to Kenmore dryer Model 110 repairs. Kenmore often utilizes similar components across appliance lines, meaning some parts or assembly techniques might be transferable. Examining these diagrams can provide a general understanding of Kenmore’s construction methods and component layouts.
However, it’s crucial to remember that washer and dryer designs differ significantly. Direct application of washer parts information to dryer repairs is unlikely. Instead, use these diagrams as a supplementary resource for visualizing how components fit together within a Kenmore appliance, potentially aiding in identifying similar parts in your dryer’s repair manual PDF.
Maytag Parts Kit Installation Instructions (Related Skills)
While specifically for Maytag parts kits, reviewing these installation instructions can bolster your general appliance repair skillset – a valuable asset when tackling a Kenmore dryer Model 110 repair using a manual PDF. The instructions often detail fundamental techniques like disconnecting electrical connections, removing and replacing components, and understanding basic appliance mechanics.
These skills are universally applicable, regardless of brand. Familiarity with these procedures, gained from the Maytag documentation, can increase your confidence and efficiency when following the steps outlined in your Kenmore dryer’s repair manual. It provides practical experience interpreting technical diagrams and handling appliance parts safely and effectively, complementing the PDF guide.
Kenmore 110.88732 Washer Dryer User Manual ⎻ Related Information
Although pertaining to a washer/dryer combo (model 110.88732), this user manual offers insights into Kenmore appliance operation and troubleshooting philosophies. Understanding how Kenmore approaches user guidance can be beneficial when interpreting the more technical details within a dedicated Kenmore dryer Model 110 repair manual PDF. It highlights Kenmore’s emphasis on safety and proper usage.
The manual’s sections on basic maintenance, like cleaning lint filters, are universally relevant to dryer care. Furthermore, it demonstrates Kenmore’s documentation style, potentially aiding comprehension of the repair manual’s diagrams and instructions. While not a direct repair guide, it provides contextual knowledge about the brand and its appliances, enhancing your overall repair experience.